How to
make a Chain Mail Bracelet
Hi guys and welcome to
another interesting how to blog.
Today I am going to teach you how to make a beautiful chain mail
bracelet.
Firstly you will need the
following tools and equipment: some beads, approximately 100 jump rings (I have
used 10mm but anything from 5mm upwards is ok), thin nosed pliers, wire cutters
and finally some 0.6mm silver plated or artistic wire.

Once you have everything,
you will need to start by opening up your jump rings. Always remember to twist
them open instead of pulling them as pulling them will distort the metal.

You then want to pick up 2
jump rings and close them up.
Attach 4 jump rings to these 2 and close, then attach 2 more onto the
4. This maybe a bit tricky so
sometimes it is easier to attach you first 2 jump rings to a paper clip so you
have something to hold on to.

Next, holding the top 2
rings in your fingers, gently separate the 4 rings below them into set of two as
shown below. To do this push your
fingers in between the 4 rings from behind and pull the 2 sets of 2
outwards. Try to keep a firm hold
of this, as it will easily fall undone.

Once your rings look like
the above picture, push the bottom 2 rings towards the top 2 rings, then
flip them over and pull them back down into their position again. This has effectively ‘turned’ them over
and creates the criss cross effect.
Again this is very unstable so remember to keep a firm hold of your
rings.

Once you have your over
all shape, attach 4 more jump rings onto the bottom 2, then a further 2 onto
the 4 as pictured below.

Repeat the same process as
before another once, so you have a line of 4 centre hoops as shown below. This
is one section of your bracelet.

You should now have
something that looks like this. You now need to repeat this process about 3 or
4 times to create different sections, depending on the size of your wrist.

be careful as this is still very
fragile at this stage.
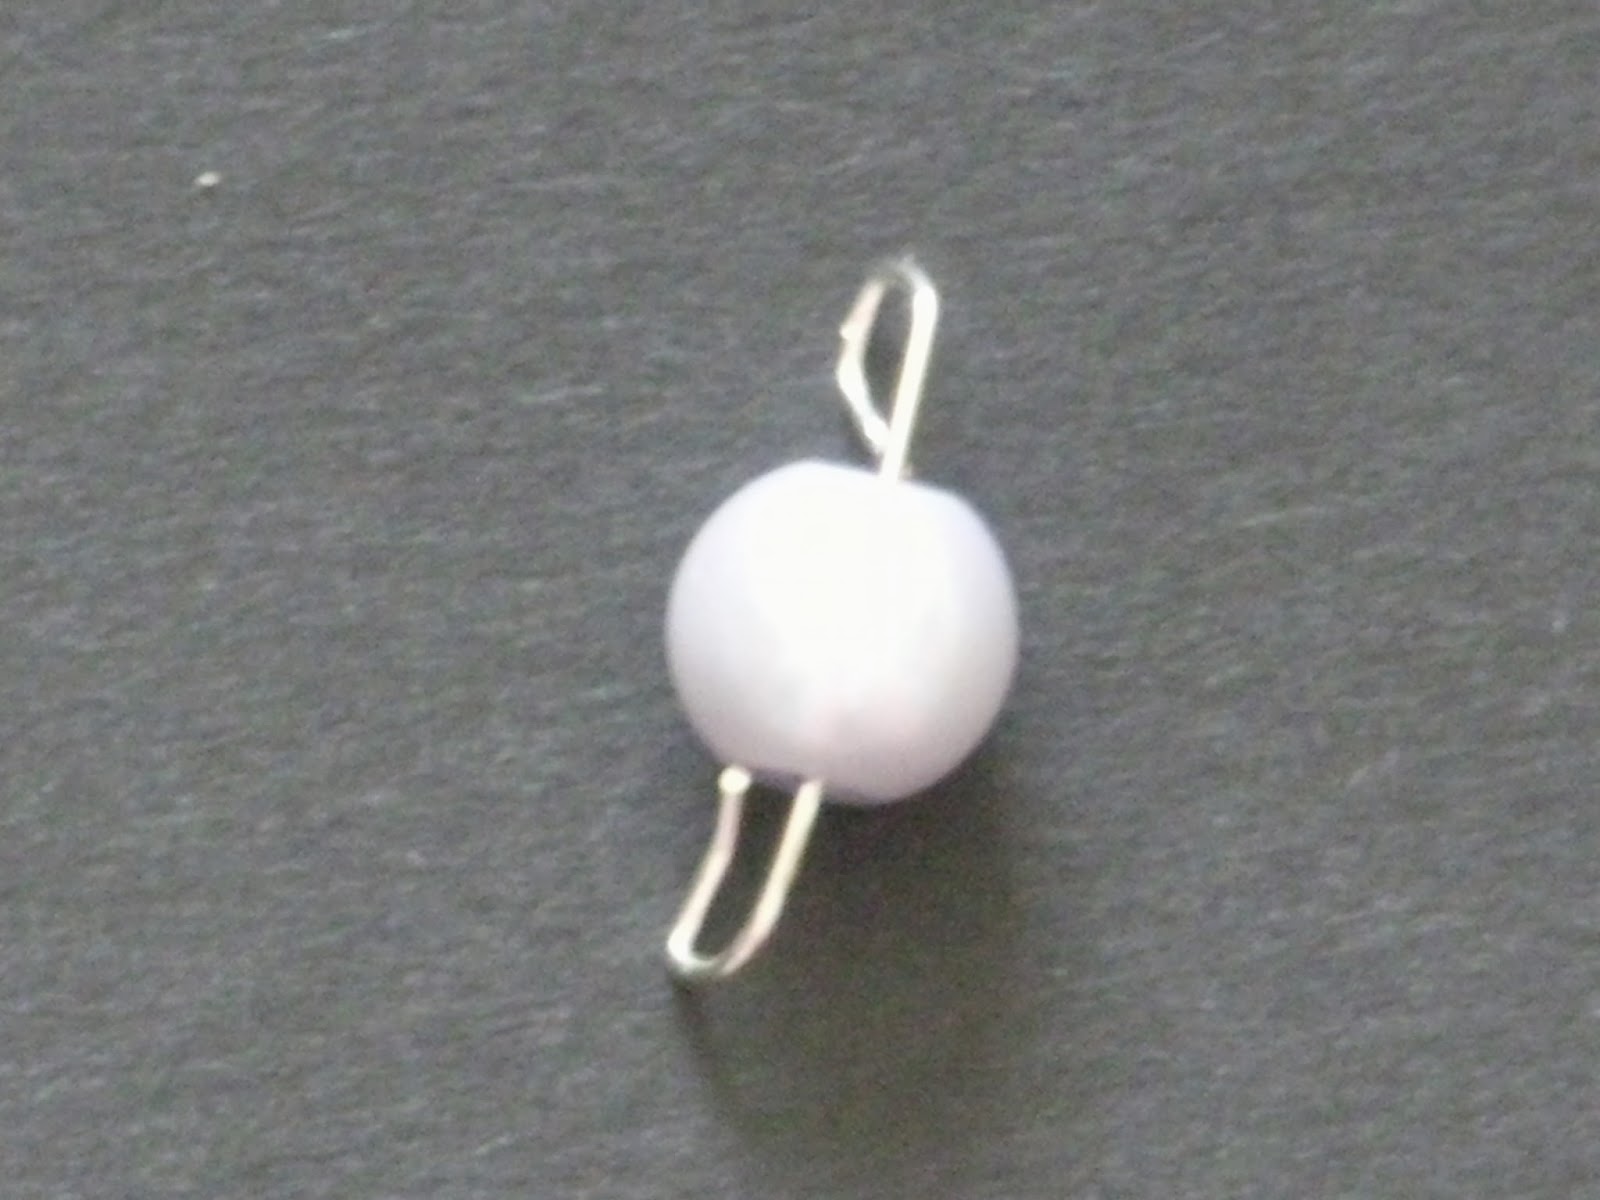
The next step is adding
the bead detail. For this you will
need about 1 inch of your 0.6mm wire and your bead.

Start by making a small
loop at one end of the wire, using your pliers. Don’t fully close this yet as you will need it slightly open
to thread your jump rings through.

Next, thread on your bead.

Then loop the other end
into a loop like the first, trying to get it as close to the bead as
possible. Don’t fully close this
end either. You will need to make
about 4 of these depending on your wrist size.
Next attach the bead onto
one of the ends of the jump ring section and use your pliers to close it on. Then
attach another jump ring section to the other side of the bead and repeat until
you have a bracelet that fits your wrist size.

Once you have attached all the beads and jump rings you should now have a beautiful bracelet that looks like this.

At this point I would advise silver soldering each jump ring closed. But if you have neither the time or tools then not to worry.
If you would like to see what else i have been creating, why not checkout my website at
thanks for watching
What a lovely bracelet and a super tutorial, thanks for sharing
ReplyDelete